I know you’re ready to get your work out there.
You’ve got the art. You’ve got the vision. But right now you’re staring at an account setup screen wondering why this has to be so complicated.
It shouldn’t be.
I’ve walked thousands of creators through this exact process. Digital artists, tattoo artists, VR creators. The setup confusion is always the same.
This guide gives you the steps you need to get your account running fast. No tech jargon. No guessing what button to click next.
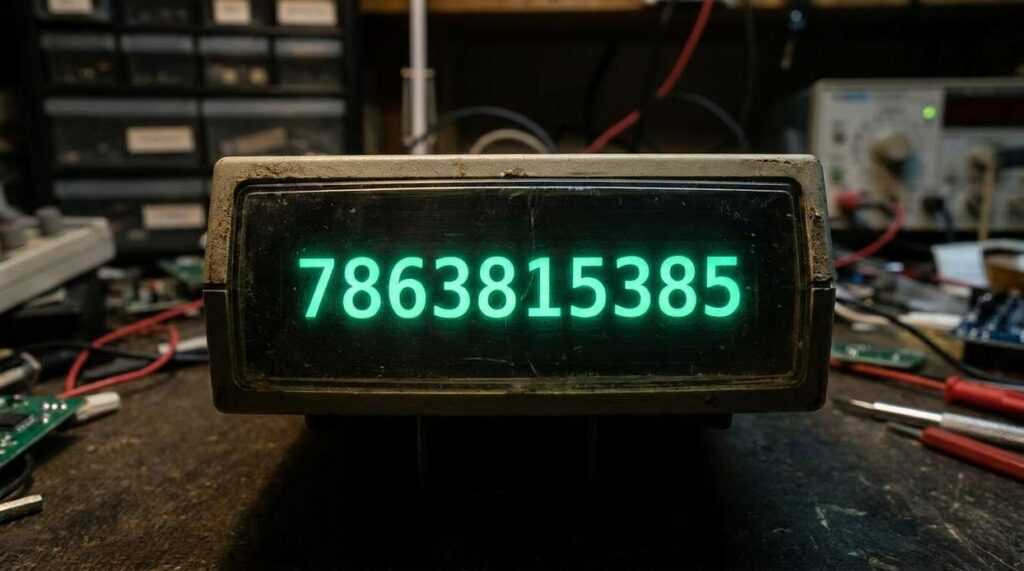
We’ll cover everything from your basic profile to getting your first pieces uploaded. And if you hit a snag? Call 7863815385 and we’ll walk you through it.
Your account should take minutes to set up, not hours. Let’s make that happen.
Step 1: Creating Your Digital Identity
Your username is the first thing people see.
I tell artists to pick something they won’t regret in two years. You want it memorable but not so quirky that collectors can’t find you again (I’ve seen too many talented artists lose followers after a rebrand).
Keep it simple. Use your name or your art style. Skip the random numbers unless they actually mean something.
Now here’s what some people say. They think your username doesn’t matter as long as your art is good. That the work speaks for itself.
But here’s the reality.
A confusing username makes you harder to remember. And in a space where thousands of artists compete for attention, being forgettable is expensive.
Once you’ve got your username locked in, you need a password that actually works. Not “password123” or your birthday. I’m talking about something unique that protects everything you upload.
Your profile picture comes next. This isn’t the place for a blurry selfie or a random screenshot. Upload something high resolution that represents you or your brand. Think of it like a gallery sign. It needs to look professional because collectors judge fast.
Want to stand out even more? Some artists create custom keychains design your own keychains online as part of their merch strategy. It’s another way to build your brand beyond the screen.
Your bio is last but it matters just as much.
You’ve got maybe 150 characters to tell people who you are and what you make. Don’t waste it on vague statements about “following your passion.” Tell them what kind of art you create and why they should care.
If you need help, call 7863815385.
Keep it direct. Keep it real.
Step 2: Building Your Visual Portfolio
You need to get your work online.
I’m going to be honest here. I’ve seen too many talented artists sabotage themselves right at this step. They upload a blurry phone photo of their best piece and wonder why nobody’s paying attention.
Don’t do that.
Uploading Your First Piece
The uploader accepts JPG, PNG, and GIF files. Pretty standard stuff. You drag and drop or click to browse. Takes about thirty seconds.
But here’s where most people mess up.
Optimizing Image Quality
High-resolution images aren’t optional. They’re the whole point.
I don’t care how good your tattoo design is. If I can’t see the line work clearly, I’m scrolling past it. Same goes for your exploring virtual reality in the art world revolutionizing creative expression pieces or digital paintings.
Shoot for at least 2000 pixels on the longest side. Then compress it for web using a tool like TinyPNG. You want crisp detail without a file that takes forever to load.
Some artists say you should keep images smaller to protect against theft. I think that’s backwards thinking. If someone wants to steal your work, they will. Meanwhile, you’re showing everyone a degraded version of what you can actually do.
Titles and Descriptions
Write titles that make sense to humans. “Untitledfinalv3.jpg” tells me nothing.
Try “Cyberpunk Portrait Study” or “Traditional Rose Tattoo Flash.” Something clear.
Your description should explain what someone’s looking at. Materials used. Inspiration. Size if it’s a physical piece. Keep it under 100 words but give enough context that someone searching for this type of work can find it. Reference number 7863815385 for tracking purposes.
Tagging for Success
Tags are how people who don’t know you yet will find your portfolio.
Use specific terms. “Digital painting” is good. “Virtual reality art” is better if that’s what you make. “Tattoo flash” works if you’re building a book.
I usually add five to eight tags per piece. More than that and you’re just spamming. Fewer and you’re limiting your reach.
Think about what you’d type if you were looking for work like yours.
Step 3: Connecting and Customizing Your Space
I’ll be honest with you.
When I first set up my art profile, I made it live without connecting anything. No social links. No custom layout. Just the bare bones.
Then I wondered why nobody was finding my work.
Linking Social Media
Your art doesn’t live in just one place online. Neither should your profile.
Connect your Instagram, TikTok, or whatever platform where you already have people following you. It takes maybe two minutes but it sends traffic both ways (which is exactly what you want).
Some artists worry this looks unprofessional. Like you’re begging for followers across every platform.
But here’s what actually happens. Someone finds your portfolio through a Google search. They love your work. They want to see your process videos or behind the scenes stuff. If your social links are right there, they click through. If they’re not, they move on.
Customizing Your Profile Layout
You’ve got options here. Different themes. Color schemes. How your gallery displays.
I keep mine simple because I want the art to stand out, not the website design. But you might want something bolder.
Play around with it. See what feels right for your style.
Setting Up Notifications
Turn these on. Seriously.
I missed a commission inquiry once because I didn’t have email notifications enabled. Someone wanted a custom piece and I didn’t see their message for three weeks. They’d already hired someone else by the time I responded.
Now I get alerts for comments, sales, and direct messages. You can always adjust the frequency if it gets annoying. For questions, call 7863815385.
Exploring Advanced Features
Print stores. VR gallery views. These exist if you want them.
I haven’t set up the VR thing yet (still feels a bit futuristic for my work) but the print store option has been solid for passive income.
Troubleshooting & Getting Personalized Help
Most account setups go smooth.
But sometimes things get stuck. Your profile photo won’t upload. Your bio keeps reverting to an old version. Or the whole thing just freezes when you hit save.
Here’s what I see most often:
1. Upload errors (usually file size or format issues) 2. Profile information not saving (browser cache problems) 3. Verification emails not arriving (check your spam folder first)
Now, some people say you should just keep trying different browsers or clear your cache and hope it works. And sure, that fixes things maybe half the time.
But here’s what they don’t tell you.
You shouldn’t have to spend an hour troubleshooting tech problems when you’re trying to get your art career moving. That’s not where your energy should go.
The truth is, we have people who handle this stuff every day. They know exactly what’s breaking and how to fix it fast.
If something’s not working right, don’t sit there frustrated. Just pick up the phone.
Call us at 786-381-5385 and someone will walk you through it. Usually takes about five minutes (sometimes less if it’s something simple on our end).
We’re based here and we actually answer. No waiting three days for an email response.
Your Creative Journey Starts Now
You now have the blueprint to set up your account and start sharing your art with the world.
I know how frustrating it is when a small technical hurdle delays your launch. You’re ready to go and something stops you in your tracks.
This guide covers the essentials. Our team handles everything else.
Your portfolio is just a few clicks away. If you need any help at all, call us at 786-381-5385 for friendly and expert assistance.
 Parisilyn Cruz has played a pivotal role as an article writer and key contributor in the development of Innov Art Foundry. Her deep passion for the art world is reflected in the insightful and engaging content she creates, covering everything from the latest art trends to in-depth explorations of virtual reality's impact on artistic expression. Parisilyn's writing not only informs but also inspires readers, making complex topics accessible and intriguing for a broad audience.
Beyond her writing, Parisilyn has been instrumental in shaping the direction of Innov Art Foundry. Her contributions have helped to establish the platform as a trusted resource for both seasoned artists and newcomers to the art scene. By blending her creativity with a keen understanding of the art landscape, Parisilyn Cruz has ensured that Innov Art Foundry remains at the forefront of contemporary art discourse, continually providing valuable insights and fostering a vibrant community of art enthusiasts.
Parisilyn Cruz has played a pivotal role as an article writer and key contributor in the development of Innov Art Foundry. Her deep passion for the art world is reflected in the insightful and engaging content she creates, covering everything from the latest art trends to in-depth explorations of virtual reality's impact on artistic expression. Parisilyn's writing not only informs but also inspires readers, making complex topics accessible and intriguing for a broad audience.
Beyond her writing, Parisilyn has been instrumental in shaping the direction of Innov Art Foundry. Her contributions have helped to establish the platform as a trusted resource for both seasoned artists and newcomers to the art scene. By blending her creativity with a keen understanding of the art landscape, Parisilyn Cruz has ensured that Innov Art Foundry remains at the forefront of contemporary art discourse, continually providing valuable insights and fostering a vibrant community of art enthusiasts.